Ⅰ.Product Image
Ⅱ. Product Introduction
Wireless remote control box
1. This testing machine is mainly used for compressive strength testing of various building material test blocks, and complies with the relevant provisions of over a hundred relevant national standards, such as JC/T1023-2007 gypsum based self-leveling mortar, GB/T28627-2012 plastering gypsum, and GB/T17671-1999 Equipped with appropriate test attachments, it can also be used for three-point bending tests of cement mortar, compression tests of bricks, metal products, components, and other materials.
2. This testing machine adopts a double column frame structure, with an upper pressure plate installed on the upper fixed crossbeam, and a lower pressure plate loaded the sample upwards under the action of the driving screw. The motor control and transmission system are installed at the lower part of the main machine. The testing machine adopts a high-precision stepper motor speed control system, which controls high-precision and high-frequency stepper motors and drives precision screw pairs for testing. It can achieve a wide range of adjustment of the testing speed (0.01-50mm/min), and the testing process is stable and efficient.
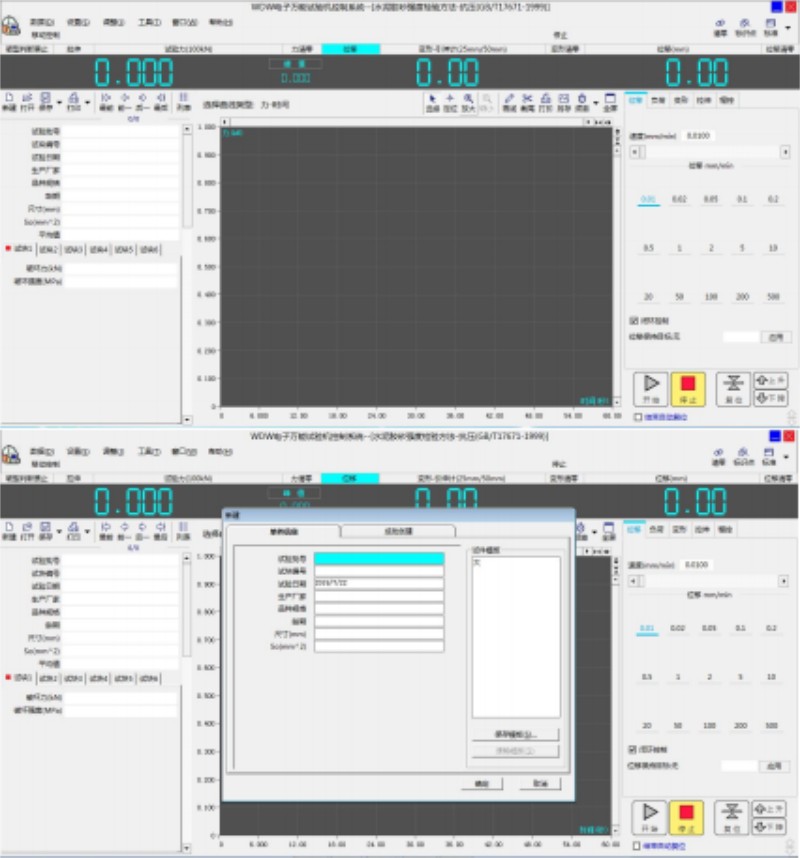
3. Using a microcomputer built-in controller, the test is conducted in accordance with the national standard GB/T17671-1999 "Methods for Testing the Strength of Cement Mortar". The setting of test parameters, control of the test process, data collection, processing, analysis, and display can be independently completed during the test process. It can achieve both single specimen testing and group testing, with precise, accurate, fast, convenient, and reliable control and measurement.
4. The data processing system can collect and process experimental data, and then output and print various required test curves and test reports. It can achieve storage, printing, and networking functions, which is intelligent and flexible.
Software Introduction
a. Automatic shift: Automatically switch to the appropriate range according to the load size to ensure the accuracy of measurement data; Realizing true physical zero adjustment, gain adjustment, and automatic shifting, zero adjustment, calibration, and storage of experimental force measurement, without any analog adjustment links, with highly integrated control circuits
b. Conditional storage: The experimental control data and sample conditions can be made into modules, facilitating the conduct of batch experiments;
c. Automatic transmission: During the test, the speed of moving the crossbeam can be automatically changed according to the preset program or manually changed;
d. Automatic calibration: The system can automatically calibrate the accuracy of indication;
e. Automatic saving: After the experiment is completed, the test data and curves are automatically saved;
f. Process implementation: The experimental process, measurement, display, and analysis are all completed by a microcomputer;
g. Batch testing: For samples with the same parameters, one set can be completed sequentially;
h. Experimental software: Chinese Windows interface, menu prompts, mouse operation;

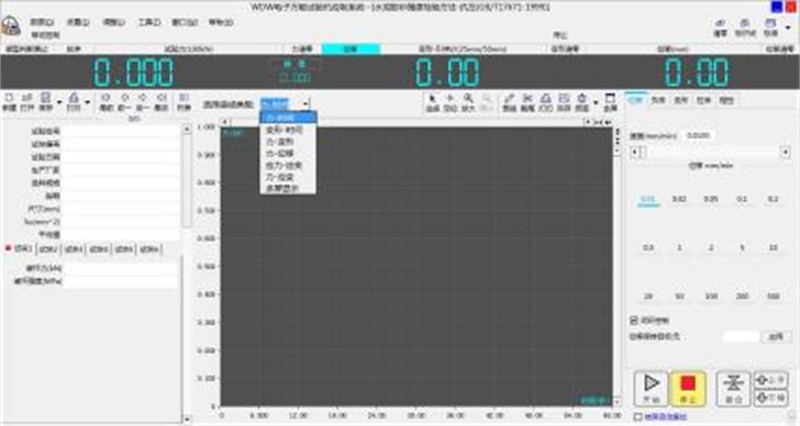
i. Display method: Data and curves are dynamically displayed during the test process;
j. Curve traversal: After the experiment is completed, the curve can be reanalyzed, and the experimental data corresponding to any point on the curve can be found with the mouse;
k. Curve selection: stress-strain, force displacement, force time, displacement time and other curves can be selected as needed for display and printing;

l. Test report: The report can be prepared and printed in the format required by the user; It has a network interface for data transmission, storage, printing, recording, and network transmission printing, and can be connected to the internal LAN or Internet network of the enterprise.
5. It has the function of returning to the initial position after the experiment, which is efficient and fast.
6. It has limit protection function for working position and overload and overcurrent protection function, which is reliable and safe.
Compared with the old electro-hydraulic servo pressure testing machine, this testing machine has the following advantages:
a. The measurement range of experimental force is wider, more accurate, and more stable: due to the zero position covering problem of the electro-hydraulic servo control valve during static control (which is an inherent characteristic of the electro-hydraulic servo valve itself), as well as the sealing and friction problems of the oil cylinder, the output (displacement and test force) near the zero position is not linear, and it is easy to crawl at low speeds, with poor stability and high initial pressure, Unable to achieve output control of small deformation and small experimental force (the load of short age specimens is very small, which cannot be controlled using this method); By using high-precision stepper motor combined with ball screw control, there is no problem with the aforementioned electro-hydraulic servo control. In addition, high-precision load sensors are used to measure force, so the experimental force measurement range is wider, more accurate, and more stable.
b. Low noise during the test process: The noise of the stepper motor is much lower than the working noise of the hydraulic pump
c. The control process is not affected by temperature, resulting in more stable performance
d. There is no pollution problem caused by hydraulic oil leakage, leakage, dripping, or leakage
e. No servo valve is contaminated and stops working
f. The power and transmission system are more compact, the structure is more concise and lively, and the reliability is greatly improved.
g. High long-term reliability and maintenance free (without the hassle of replacing hydraulic oil).
Ⅲ. Main technical indicators
1. Maximum test force: compressive strength of 300 kN; Bending resistance10kN
2. Measurement range and accuracy of test force: 0.4% -100%; Accuracy better than 0.5%
3. Adjustable range of test force speed: 1-10 kN/S (accuracy higher than ± 0.5%); Stepless setting
4. Test execution standard: GB/T17671-1999, database supports hundreds of test standards
5. Maximum distance between upper and lower pressure plates: 260mm
6. The spacing between columns shall not be less than 330mm 7. Size of upper and lower pressure plates: Φ 140mm
8. Test method: Single piece test can be conducted; Can continuously complete 6 tests per group
9. Host size (length x width x height): 1200x530x1450mm
10. Weight: 500kg
Ⅳ. Product configuration
1. 300kN testing machine host, 1 set
Including precision screw, 1 pair; High-precision servo motor and drive system, 1 set
2. High precision load sensor (300kN), 1 piece
10kN bending resistant special sensor, 1 piece
3. Electrical control system, 1 set
4. Upper and lower pressure plates ( Φ 140), 1 set
(1 set of bending attachments and 1 set of pressure resistant tooling will also be given as a gift)
5. Dedicated software for testing machine control and database processing, 1 set
6. Lenovo brand computer, 1 set
7. Inkjet printer, 1 set
8. Intelligent manual control box, 1 set
MESSAGE
MESSAGE
RECOMMEND PRODUCTS
RECOMMEND PRODUCTS
Get real-time quotes
Interested? Leave your contact details.


